How To Rent A City Bike In Tel Aviv
The best way to see Tel Aviv? By bike of course. With over 62 miles of dedicated bike paths winding their way through the city, most of which are dotted with cafés, juice bars, and other eateries, there really is no point in taking a cab--especially with Tel Aviv's renowned traffic jams. As rental stations lurk everywhere throughout the city, the little green Tel-o-Fun bikes offer a fun and convenient way to explore The City That Never Sleeps.
Although dead simple once you get the hang of it, the initial rental process is not very straightforward for tourists. So, having spent a few days now exploring by bike, and only after getting help from a very nice and patient couple, here are some tips to help you on your way.
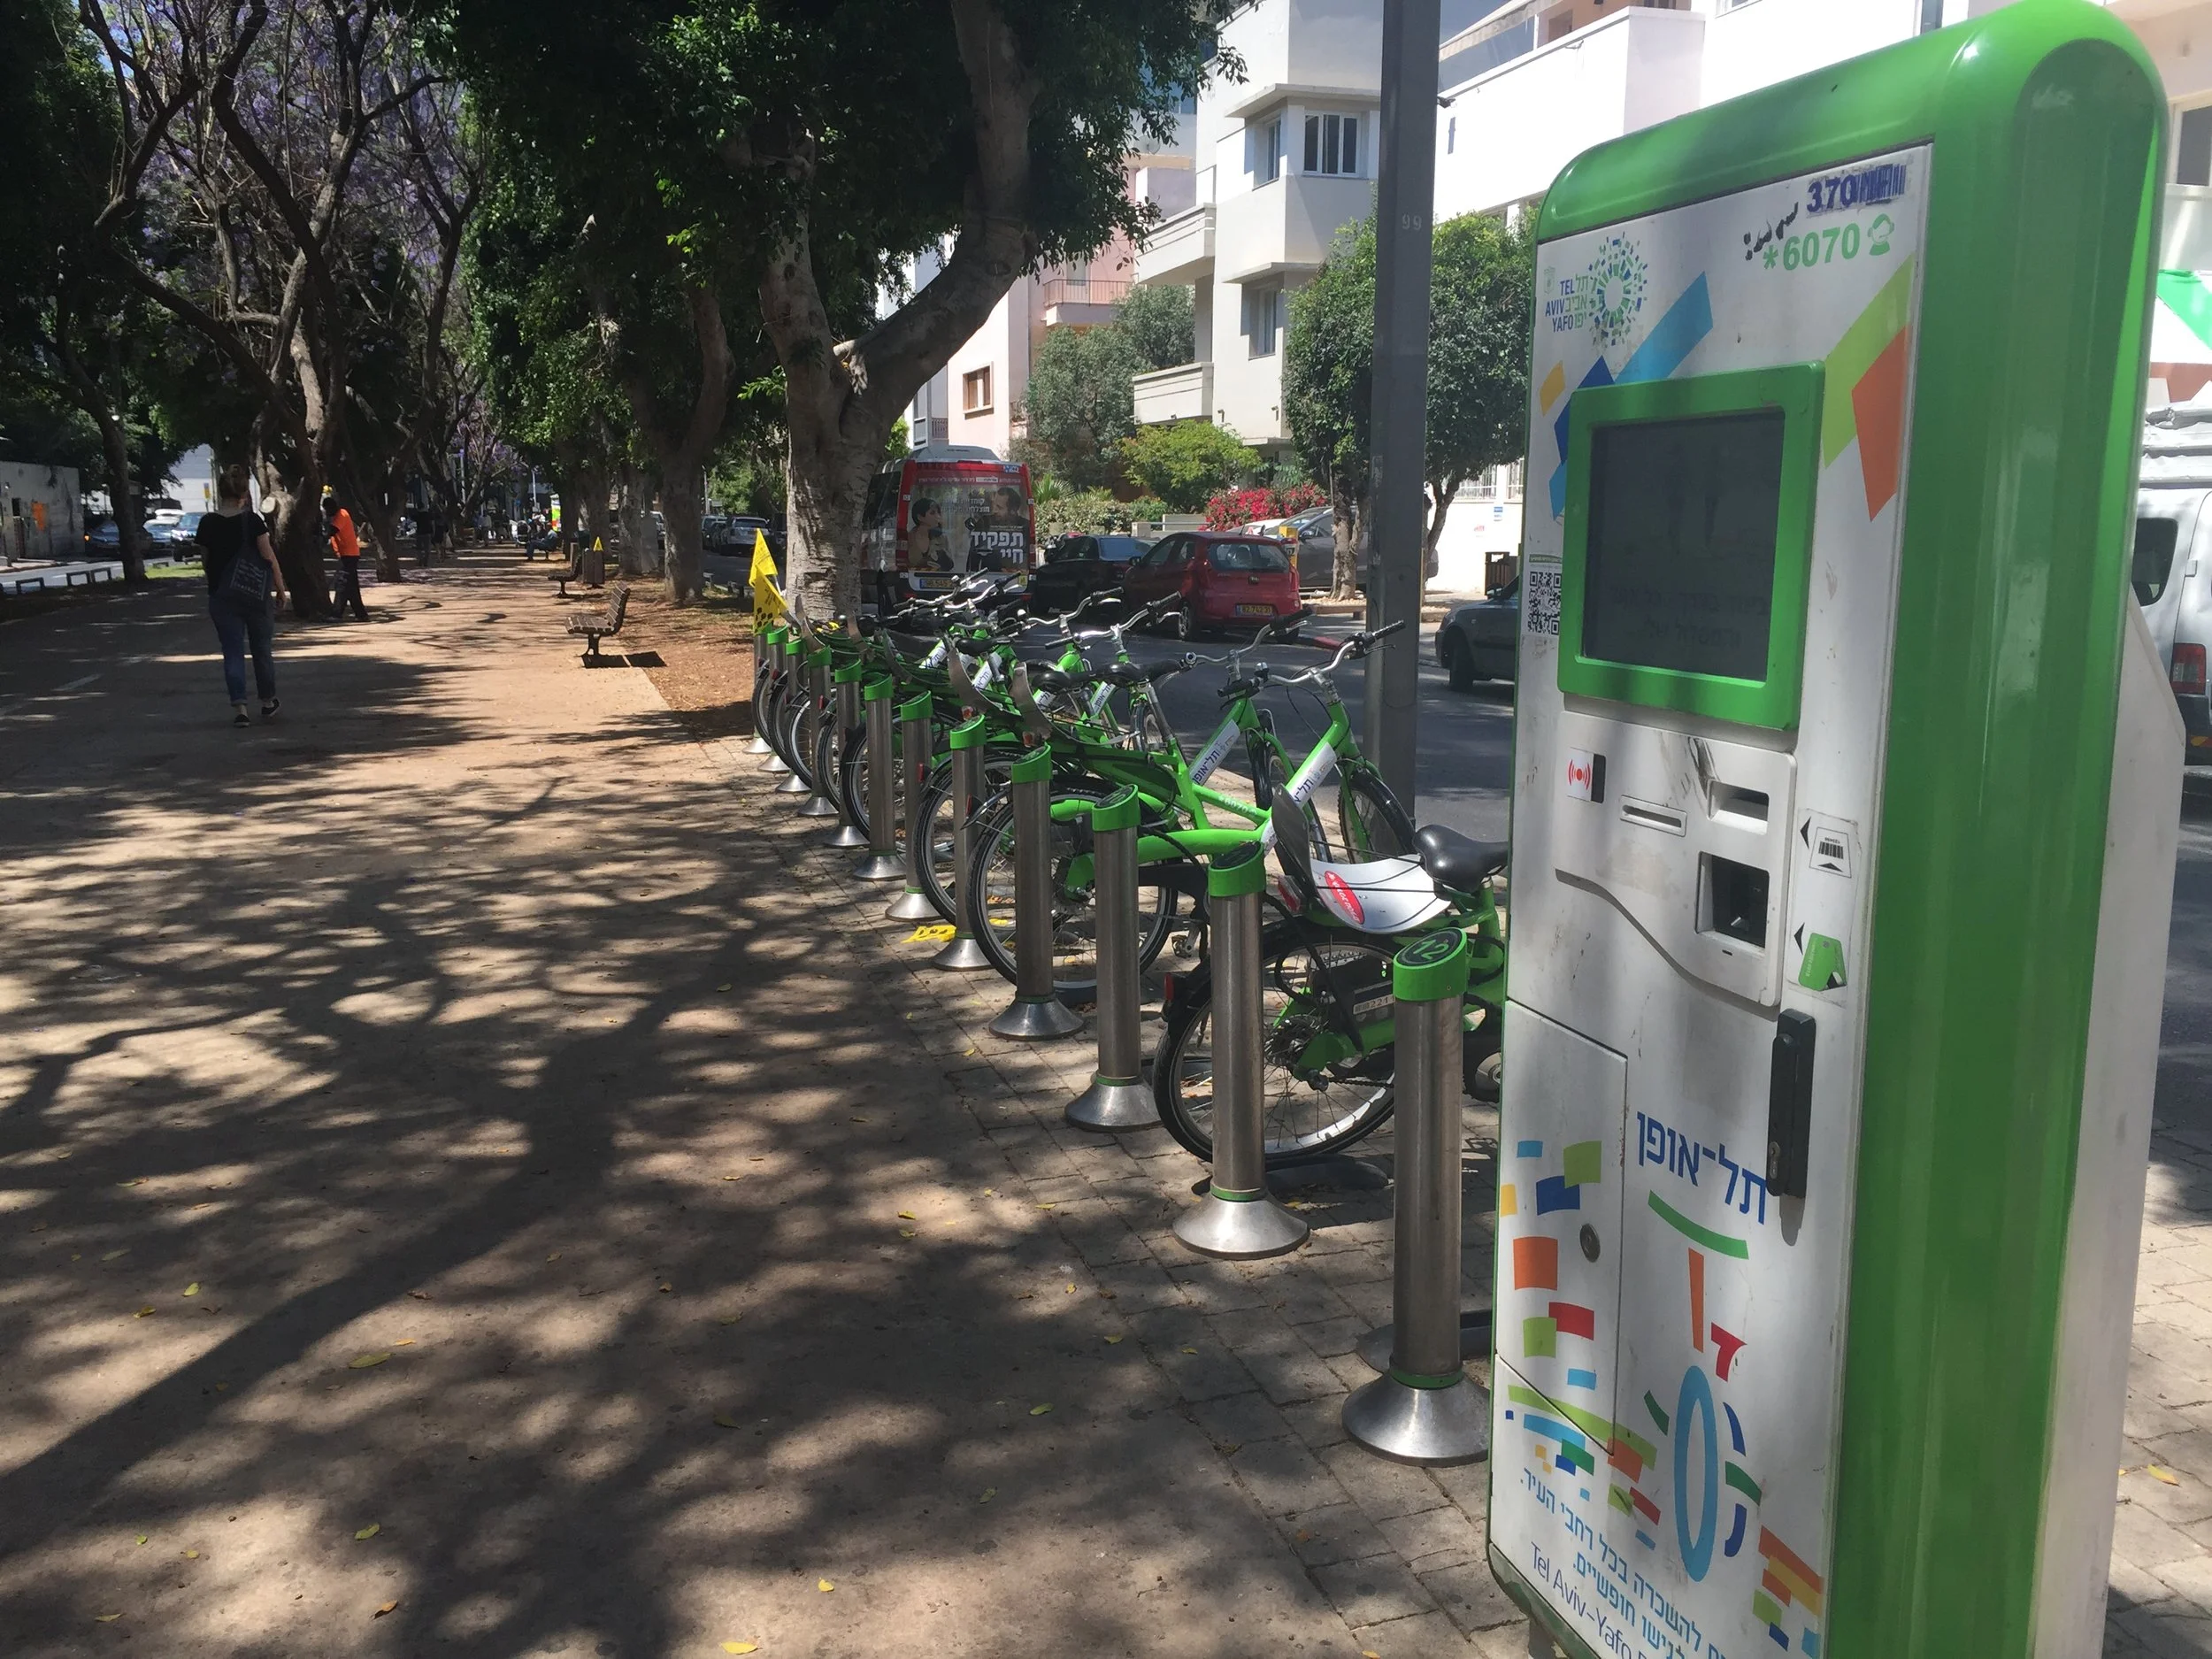
1. Look for the bright green city bike stations sprinkled throughout the city--in the city center, they are located generally close together and within easy walking distance of each other.
2. While the rental kiosk menus are initially all in Hebrew, in the bottom left corner of the screen, you will see buttons to change the language.
3. Insert your credit card to begin the rental process. A day rate costs NIS 17. This gets you the use of a city bike for 24 hours, granted that you return the bike to any station before 30 minutes has passed. Don't worry--you can return a bike and simply take it right out again but you need to check into a station every 30 minutes in order not to be charged additional rates. This is not such a big deal within the city center and it saves you the hassle of having to lock your bike when you want to visit a museum or grab a coffee.
4. The machine will ask if you want to set up your own personal 4 digit pin or if you are happy with the system giving you one. Either way, your personal 4 digit pin is the key to getting new bikes throughout the day.
5. Once payment has been confirmed, the kiosk will spit out a barcode slip that you will use to identify yourself at every subsequent station. If you did not choose your own 4 digit pin, you will need to use the pin given on this barcode slip.
6. The machine will now look through the inventory at the station to see which bikes are available. Choose one of the available bikes based on the number of the slot it is parked in. Once you choose a number, the machine will make sure the bike is in working order and if all is ok, release the lock from your chosen bike. On subsequent visits, this step will be triggered once your barcode is read.
7. Head over to your chosen bike and pull the large pin lock all the way out from the back wheel of the bike. You are ready to ride!
8. When returning a bike, simply park at one of the stalls, place the locking pin hanging from the stall all the way back through the lock box, and press the big button on the back of this box (be sure to press the button!). That's it. The system will register that you have returned the bike within a certain timeframe.
9. Once you are ready to take out another bike, simply repeat steps 5&6, ride, then repeat step 7 upon returning before your 30 minutes is up. You can do this as many times as you want in a 24 hour period.
To help you find city bike stations, I highly recommend you download the free Telobike app. The app finds your nearest stations, displays them on a map, and even tells you how many bikes and parking spaces are available at each.